REVIEW · DUNEDIN AND THE OTAGO PENINSULA
Larnach Castle & Dunedin City Highlights Tour (Shore Excursion)
Book on Viator →Operated by Discover Dunedin Tours · Bookable on Viator
Steep streets and fairytale gardens in one day. I love the mix of Dunedin photo stops and the guided visit to Larnach Castle, and it’s a smooth way to see the city even with limited time ashore. One possible drawback: lunch and WiFi aren’t included, so you’ll want a plan for food and connectivity during the day.
This is built for cruise-shore reality: you start at Port Chalmers and run a tight loop through the best-known sights, then slow down where it matters. Signal Hill gives you that big-view moment, and the Octagon break is your chance to eat and browse without rushing.
The pace is helped by a small group limit (max 18) and a comfortable air-conditioned vehicle. If you like structure plus free time, this format hits the sweet spot.
In This Review
- Key Highlights You’ll Actually Feel on the Day
- A Dunedin Shore Day That Doesn’t Feel Like a Speed Run
- Port Chalmers Pickup, Comfortable Transport, and a Manageable Group
- Photo Stops That Set the Tone: Railways, Otago University, Signal Hill
- Baldwin Street: Your Chance to Walk the World’s Steepest Street
- The Octagon Midday Break for Lunch and Shopping
- Larnach Castle: Guided Tour Inside, Then Gardens at Your Pace
- Tim and Joe’s Rhythm: Why the Day Feels Unhurried
- Price and Value: What You’re Paying For (and What You’re Not)
- Who This Tour Fits Best (and Who Might Want Something Different)
- Should You Book This Larnach Castle & Dunedin Highlights Tour?
- FAQ
- How long is the Larnach Castle & Dunedin City Highlights Tour?
- Where does the tour start and where does it end?
- Is lunch included in the tour price?
- What is included in the ticket price?
- Are admission fees included for the city photo stops?
- What group size should I expect?
- Is the vehicle air-conditioned?
- Is free cancellation available?
- Are service animals allowed?
Key Highlights You’ll Actually Feel on the Day
- Photo-stop routing that hits the rail station, University of Otago landmarks, and Signal Hill
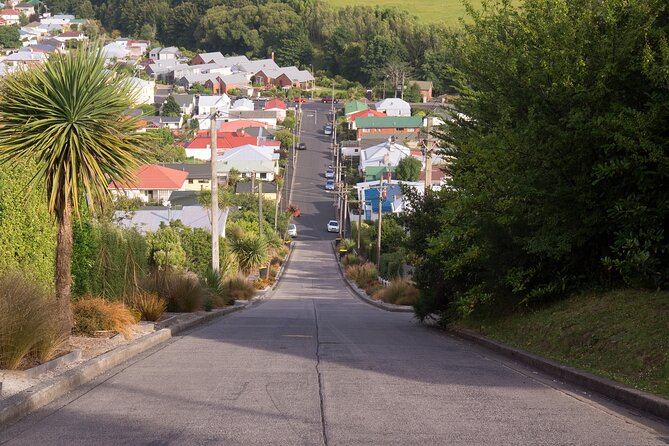
- Baldwin Street time to walk partway or simply shoot photos from the street
- Free time in the Octagon for lunch and shopping in the city center
- A guided Larnach Castle tour plus time to wander the award-winning gardens
- A small group size (18 max) for a less chaotic experience
A Dunedin Shore Day That Doesn’t Feel Like a Speed Run
If you’re visiting Dunedin for the first time, this kind of tour is the fastest route to getting your bearings. The day is arranged so you see the “you can’t miss this” spots in the city, then you spend real time at the place that most visitors come to see: Larnach Castle and its gardens.
What makes it work is balance. There’s enough commentary and sight access to understand what you’re looking at, but you also get breathing room at the middle of the tour and again at the castle.
And because it’s a cruise shore excursion, the planning matters. You’re not left scrambling for transport or trying to connect multiple destinations on your own schedule.
You can also read our reviews of more tours and experiences in Dunedin and The Otago Peninsula.


Port Chalmers Pickup, Comfortable Transport, and a Manageable Group
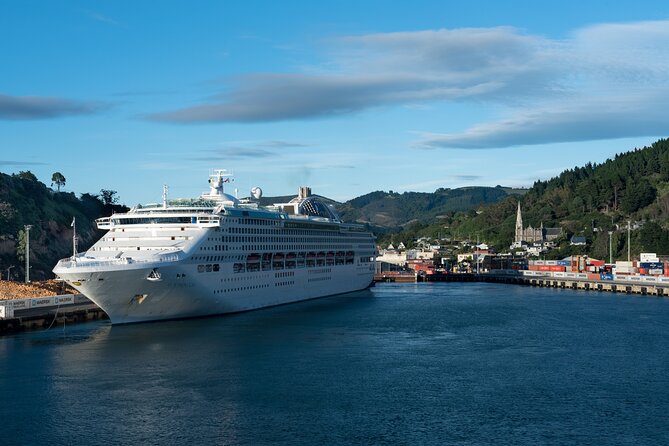
The tour starts at the Port Chalmers Cruise Terminal (21 Beach Street, Port Chalmers) and returns you back to that same meeting point. The total time is about 6 hours, which is long enough to feel like a proper outing, but not so long you lose the whole day to transit.
You ride in an air-conditioned vehicle, which is a big deal in any weather, especially if you’re doing several outdoor viewpoints in a row. The group stays small, with a maximum of 18 travelers, so you’re less likely to get stuck far from the guide during stops.
Also, you’ll use a mobile ticket, so there’s less last-minute fuss when you’re matching up with your group.
Photo Stops That Set the Tone: Railways, Otago University, Signal Hill
The tour kicks off with a short stop at Dunedin Railways for photo opportunities. It’s one of those places where you can get great shots quickly, even if you’re not spending long there. Even a 15-minute stop can be enough when your guide helps you find the good angles.
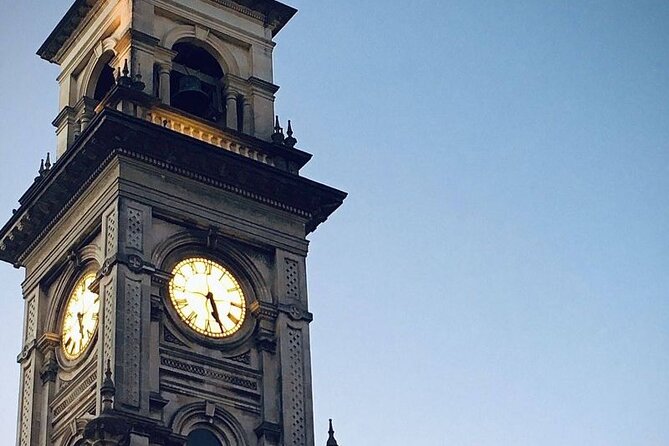
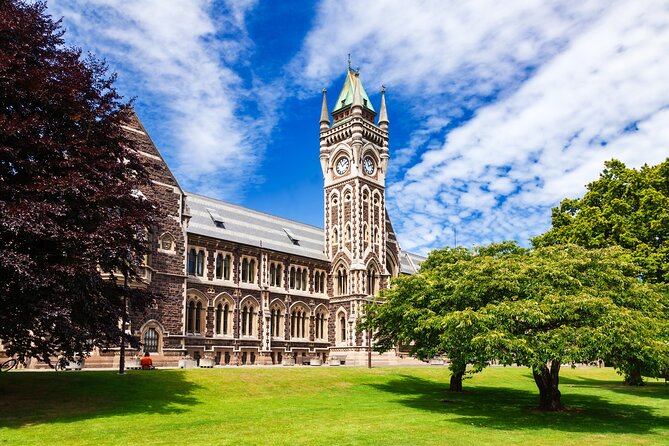
Next comes a brief look at the University of Otago. The goal here is a quick heritage view, including the Clocktower and other historic buildings. You won’t spend the morning touring classrooms, but you will get context for what makes Dunedin feel distinct—this is a city with strong roots and a strong sense of place.
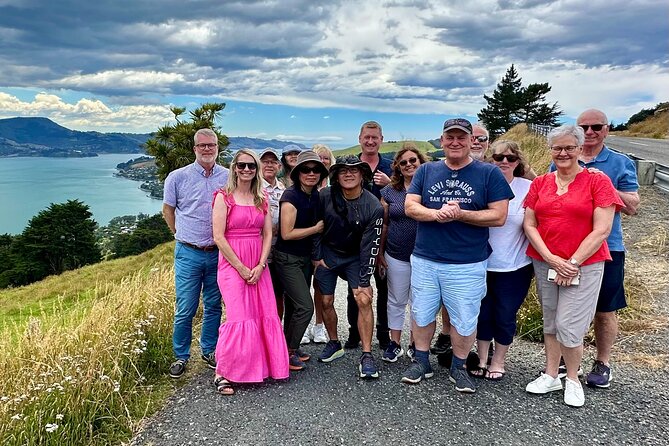
Then you head to Signal Hill, where you get a magnificent overlook of Dunedin City and the Pacific Ocean. This is the moment for skyline photos and horizon shots, and it also helps you understand the geography of the Otago Peninsula area. The stop is about 10 minutes, so bring your camera ready.
Practical tip: if you want the best photos, stand where the guide points, then take a second pass. A quick reposition can make the difference between a decent picture and one you’ll actually print.
Baldwin Street: Your Chance to Walk the World’s Steepest Street
Baldwin Street is the kind of attraction that sounds exaggerated until you’re standing there. Here you get around 15 minutes, which is just enough time to walk toward the top if you want the full experience.
You can choose your style:
- If you’re up for it, walk it and feel the slope firsthand.
- If you’d rather conserve energy, take photos from below and still enjoy the view of people climbing.
This stop is small on time but big on impact. It’s also a great photo moment for family photos or a quick “we really did it” shot, especially with Dunedin’s hills and street layout as the backdrop.
If you have mobility concerns, you may prefer the bottom viewpoint. The good news is you’re not locked into a full climb for the experience to feel worth it.
The Octagon Midday Break for Lunch and Shopping
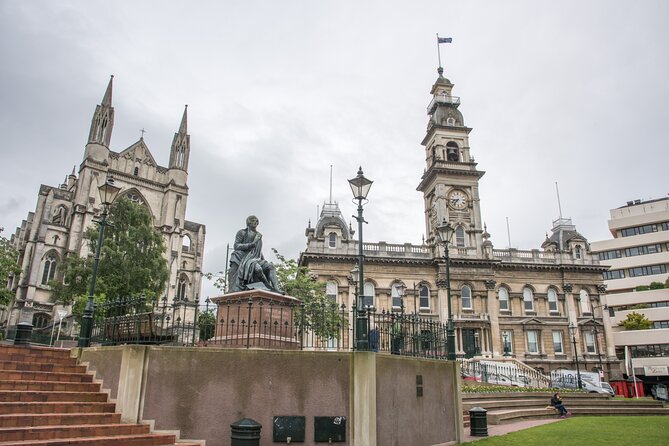
Halfway through the day, you get a longer pause at The Octagon, the city’s central hub. You’ll have about 1 hour for lunch and shopping, and it’s fully your time—no forced schedule while you’re there.
This is one of the smartest parts of the itinerary. City tours often forget that you need to eat, and they cram too much into the morning. Here, you get a real window to reset: grab a meal, pick up snacks, or shop for gifts without feeling rushed.
Because lunch isn’t included, you can also choose what fits your budget and dietary needs. That flexibility is a quiet value point, even if you’re traveling fast.
What to do if you want maximum payoff: use the hour to eat first, then shop. Waiting until after you shop can turn lunch into a scramble.

Larnach Castle: Guided Tour Inside, Then Gardens at Your Pace
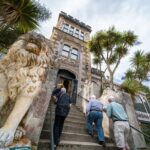
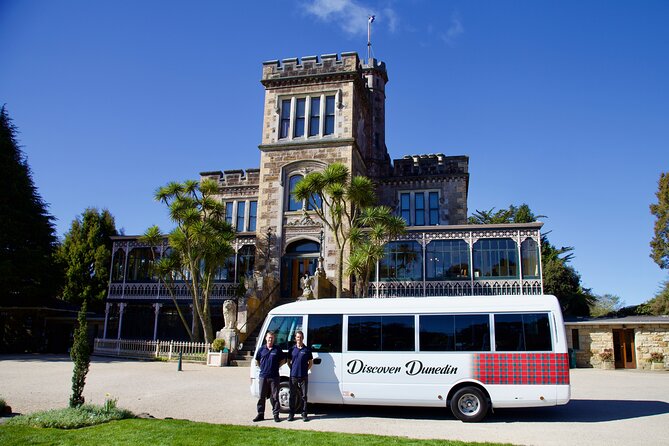
The afternoon is where the day turns special. You’ll arrive at Larnach Castle & Gardens, and you get a guided tour of the castle plus time to explore afterward.
The guided portion includes time inside the house, where historic rooms and details make the structure feel more real than a photo ever could. You also get time for your own exploration after that, with access to the award-winning gardens. If you enjoy walking paths and photographing plants, water features, or views from the grounds, this is the part that tends to justify the rest of the day.
There’s also an optional stop at the Ballroom Cafe for a break. That gives you a second chance to slow down after the city’s quick-hit viewpoints.
Time check: the castle section runs about 2 hours total. That’s long enough for the guided tour plus meaningful wandering, but it’s still smart to keep an eye on where the group meets so you don’t end up cutting your own garden time short.
Tim and Joe’s Rhythm: Why the Day Feels Unhurried
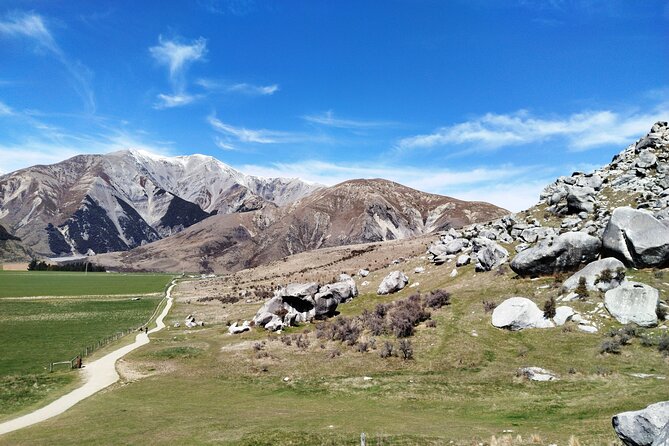
A recurring strength of this tour is the way the day is paced. Guides like Tim, and drivers such as Joe, are part of what makes the experience feel smooth. The day doesn’t sprint from one stop to the next, and you’re not left guessing what you’re seeing.
You’ll also notice the value of having a local who can connect dots between places. The city stops aren’t just “point and shoot.” They come with context that makes each location feel connected—railways, universities, viewpoints, and then a castle that ties into local stories.
One more practical plus: people get helped with photos along the way. If you care about getting pictures that actually look good, this kind of attention saves you the awkward moments of trying to direct your own group while everyone else waits.
Price and Value: What You’re Paying For (and What You’re Not)
At €107.55 per person for about 6 hours, the value is strongest when you count what’s included versus what you’d likely pay separately.
Included:
- Air-conditioned transport
- GST
- Larnach Castle & Gardens entry (including the guided castle portion)
Not included:
- Lunch
- WiFi on board
If you were to do this independently, you’d have to pay for castle entry anyway, and you’d still need a way to connect the city viewpoints efficiently in one day. The tour bundles the city photo stops with the castle visit and provides the vehicle for you, which is a real time saver on a shore day.
Also, your small group size matters. Paying the same amount in a large crowd can turn viewpoint time into waiting time. Here, the max of 18 travelers keeps stops more workable.
The biggest cost consideration is lunch. Budget for it. If you plan ahead, the lunch stop becomes a choice, not a cost shock.
Who This Tour Fits Best (and Who Might Want Something Different)
This is ideal if:
- You want a structured highlights tour but still need free time to breathe
- You’re coming from a cruise ship and want a safe, timed plan back to Port Chalmers
- You enjoy guided context for major sights, then self-guided time at Larnach Castle
You might skip it if:
- You’re only interested in Larnach Castle and prefer to spend a full afternoon there with no city stops
- You want lots of time at each city location (these stops are short, by design)
- You dislike walking on sloped streets like Baldwin Street (you can opt out of the climb, but the area is still part of the stop)
Should You Book This Larnach Castle & Dunedin Highlights Tour?
If you want the best odds of seeing the key Dunedin sights in a single shore day, I’d book it. The combination of photo stops, a fun challenge at Baldwin Street, and the real centerpiece at Larnach Castle and its gardens makes the day feel complete.
I especially like that you get a calm midday break in The Octagon for food and shopping. That free time is what keeps the tour from feeling like a checklist.
Just make sure you plan for lunch, charge your camera batteries, and wear shoes that handle hills. With that, you’ll leave with photos, context, and enough garden time to actually enjoy what you came for.
FAQ
How long is the Larnach Castle & Dunedin City Highlights Tour?
The tour runs for about 6 hours (approx.).
Where does the tour start and where does it end?
It starts at the Port Chalmers Cruise Terminal, 21 Beach Street, Port Chalmers, Dunedin 9023, New Zealand, and it ends back at the same meeting point.
Is lunch included in the tour price?
No. Lunch is not included. The tour includes free time in The Octagon where you can buy lunch and shop.
What is included in the ticket price?
The included items are an air-conditioned vehicle, GST, and entry to Larnach Castle & Gardens.
Are admission fees included for the city photo stops?
Yes. The stops at Dunedin Railways, the University of Otago landmarks, Signal Hill, and Baldwin Street are listed as free admission stops.
What group size should I expect?
The tour has a maximum of 18 travelers.
Is the vehicle air-conditioned?
Yes. The tour includes an air-conditioned vehicle.
Is free cancellation available?
Yes, you can cancel for a full refund up to 24 hours in advance. If canceled due to poor weather, you’ll be offered a different date or a full refund.
Are service animals allowed?
Yes. Service animals are allowed on this tour.